\
WHITE BALANCE READ AND WRITE
The article taught me that white balance in photography is important because it helps make the colors in a photo look as natural as they do in real life. Different types of light, like from a candle or a fluorescent bulb, can change the colors in a photo, making them look too blue or too yellow. White balance fixes this problem by adjusting the colors so they appear normal. There are two main ways to adjust white balance: before taking a photo using the camera settings or later, while editing the photo on the computer. By using the right white balance, you can make your photos look more realistic, or even change the mood of the photo by adding warmer or cooler colors for creative effects.
- Sunny – This setting is for bright, clear days when the sun is shining. It helps keep the colors looking natural in sunlight.
- Shade – Use this setting when you’re in the shade or under a tree. It adds warmth to the photo to balance out the cooler light from the shade.
- Cloudy – This setting works on overcast days when the sky is covered with clouds. It adds warmth to the photo because the light from clouds is cooler.
- Flash – This setting is for when you use a flash to light up your photo. It makes the colors look natural by adjusting the cool light from the flash.
- Incandescent – This setting is for when you take photos indoors with regular light bulbs. It helps remove the yellowish tone from the light bulbs and makes the photo look more natural.
- Fluorescent – Use this setting for photos taken under fluorescent lights, which can make your photo look greenish. It helps balance out that color.
ADVERTISING PHOTOGRAPHY
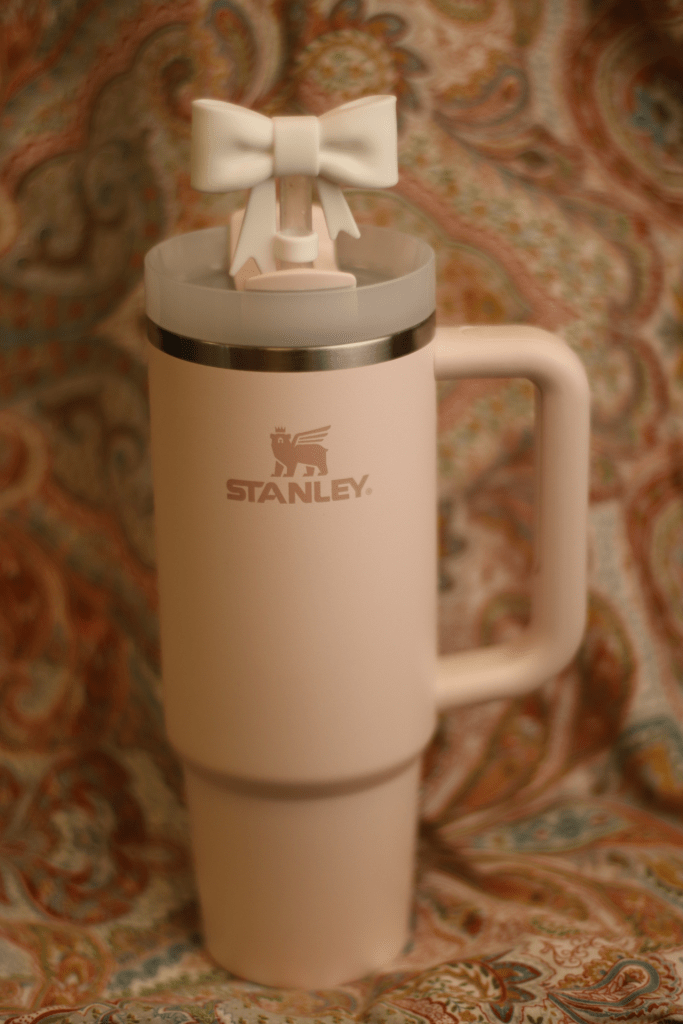
- Stanley
- Stanley is a brand of food and beverage containers
- Stanley is targeted toward working and on the go people that like to stay hydride during the day
- It is usually advertised on websites, TikTok, Instagram and etc.
- For the lighting I used warm and dark colors for it to pop more
- I used a colorful and vibrant fabric
MAKEUP
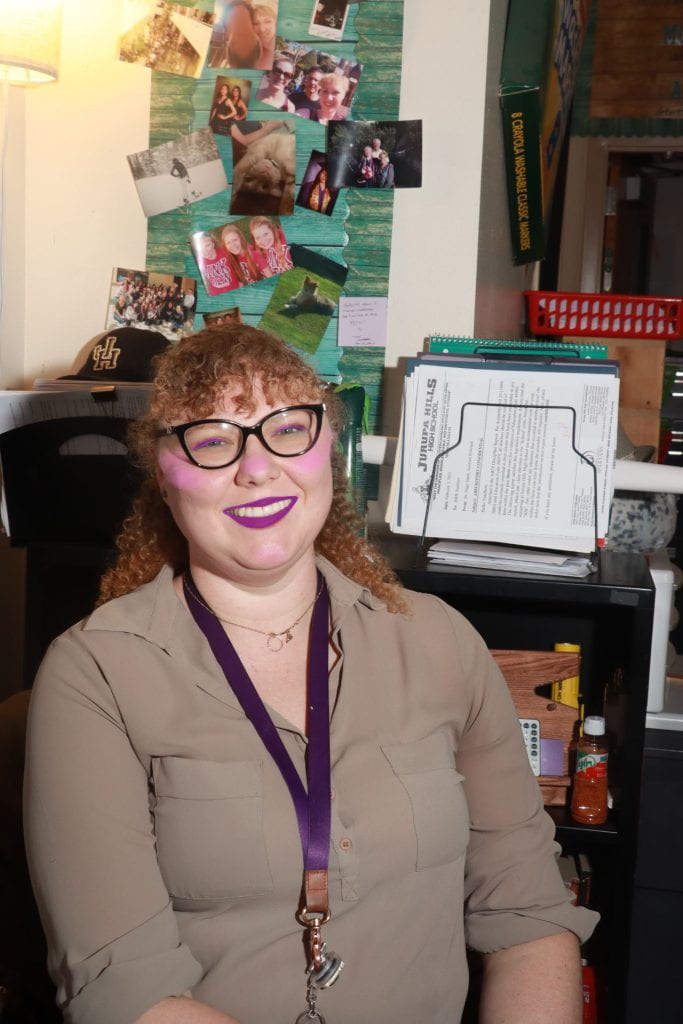
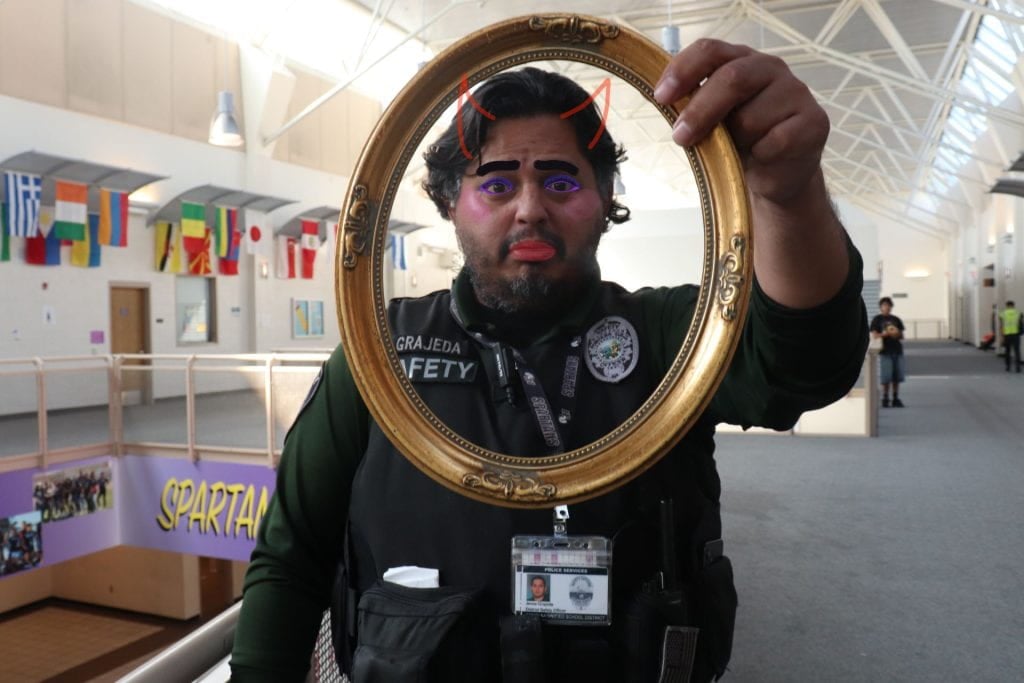
- You can save a set of brush options as a preset so you can quickly access brushes.
- You can apply a texture with your brush strokes to simulate painting on canvas or art papers.
- You can lower the opacity for a lower and airbrush look.
- Save tool presets when you want to store customized brush tip characteristics along with settings from the options bar such as opacity, flow, and color.
HDR
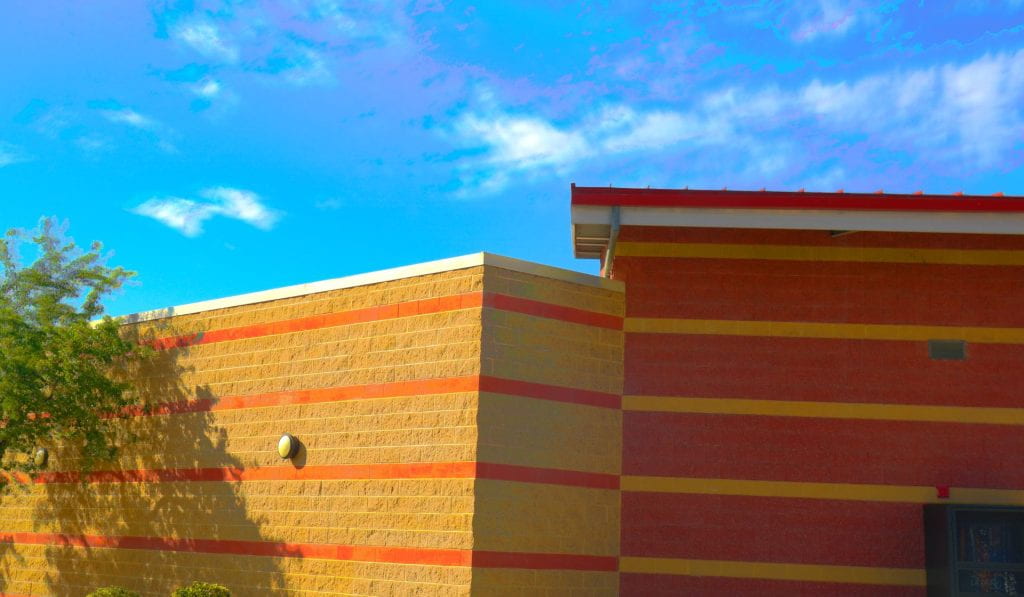
What I like from this image is the exposure because its really high but not so high and it makes the image look unrealistic. I also like how pretty the sky looks and how the clouds are edited.
HDR, or High Dynamic Range, is a photography technique that helps capture more detail in both the bright and dark areas of a photo. It works by combining multiple pictures taken at different brightness levels into one balanced image. To get the best HDR photos, you can use your camera’s HDR mode, take several photos at different exposures or edit your images using special software. It’s important to keep the photo looking natural and not overdo the effects. Using a tripod and shooting in RAW format can also help create clear and high-quality HDR images.
FILE FORMATS
Sure! Here’s a quick summary with just one fact for each format:
1. JPEG: Uses lossy compression to reduce file size, which can lower image quality.
2. HEIF: Compresses images better than JPEG while keeping more detail and supporting advanced features like live photos.
3. TIFF: Stores images with lossless compression, preserving all the details and quality.
4. RAW: Keeps all the unprocessed data from the camera, giving photographers more control over editing.
5. DNG: A type of RAW format that’s made to work across different photo software and stay usable for a long time.
6. PNG: Uses lossless compression and supports transparent backgrounds, making it great for logos and web images.
7. GIF: Supports animated images and uses different color palette of 256 colors.
8. BMP: Is an uncompressed format, meaning it has large file sizes but stores every pixel with full detail.
9. PSD: Saves images with layers and other editable elements, making it ideal for complex editing in Photoshop.
WHAT COLOR IS YOUR AURA?
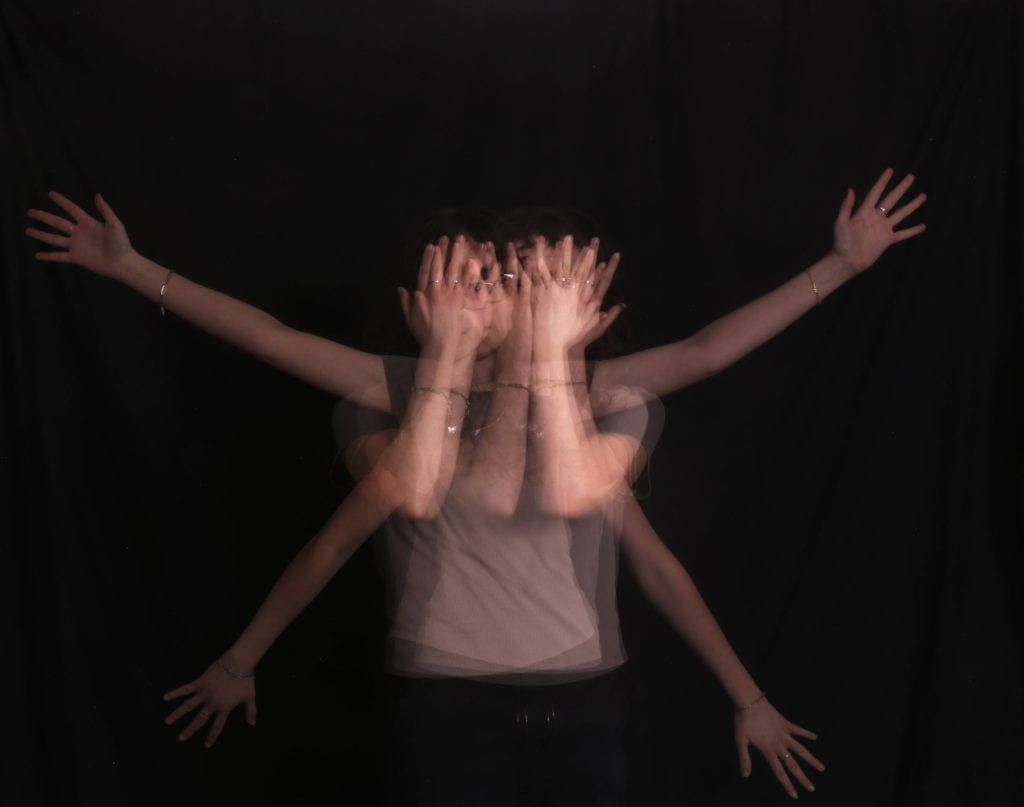
MULTIPLE EXPOSURE WITH FLASH AND SLOW SHUTTER SPEED
BARBARA KRUGER STYLE
What I want my viewers to see in this picture is how I try to keep it similar to her work and style. I also was trying to be creative with my picture